Metal Railings: Easy Tips for a Sleek and Modern Deck Finish
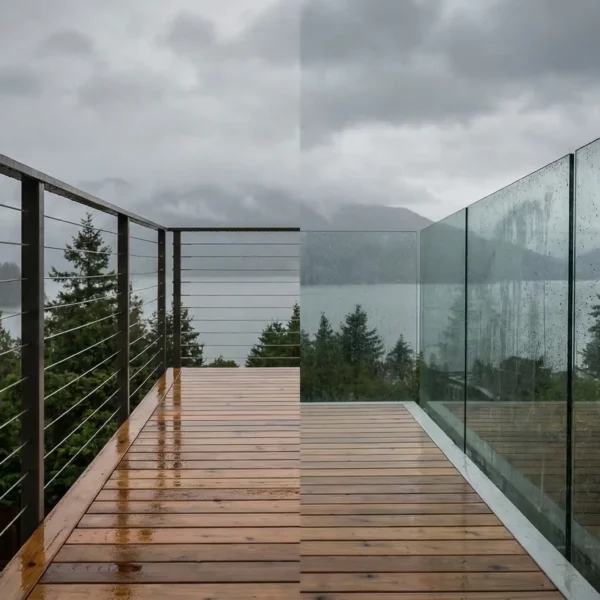
Metal deck railings are a stylish and strong addition to any deck or porch. They not only enhance the look of the space but also provide safety and security for your loved ones as they enjoy time on your deck.
With various prefabricated styles and DIY kits available, metal railings offer something for every desired look and skill level. Their durability means they withstand the elements far better than wood, while their sleek design options and powder-coated finishes make it easy to match your deck’s look.
In this article, the railing experts at Deck Guardian will guide you through the process of installing metal deck railings, helping you transform your deck into a safer, more polished outdoor retreat. Whether you’re upgrading an existing deck or finishing a new build, our outdoor railing tips will help make your metal railing installation a success.
Why Choose Metal Railings for Your Deck?
Metal railings offer style, strength, and safety, making them an excellent choice for any deck. Stainless steel, wrought iron, and powder-coated aluminum are among the popular options on the market today, each with its unique benefits.
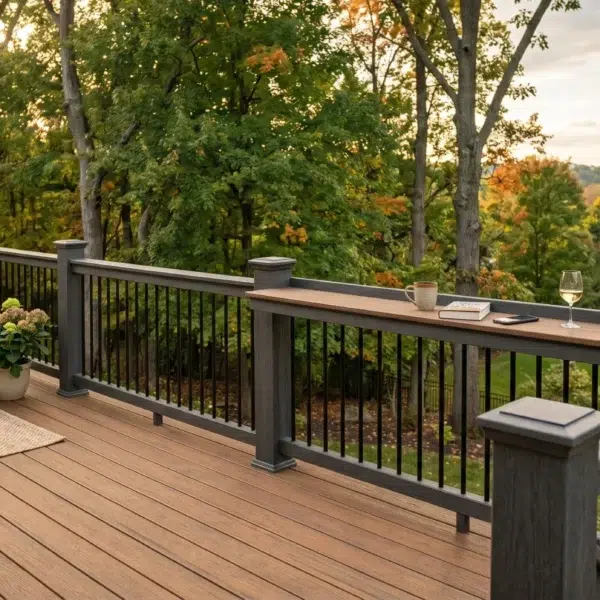
- Stainless Steel. Loved for their sleek, silvery finish, stainless steel railings bring a modern, polished look to your deck. They resist corrosion well and require minimal upkeep compared to other materials.
- Wrought Iron. A timeless classic, wrought iron railings stand out for their strength and traditional charm. They can be painted in various colors, but occasional touch-ups may be needed to prevent rust, especially in harsh weather.
- Powder-Coated Aluminum. Aluminum railings are lightweight yet highly durable, making them the lowest-maintenance option. The powder coating offers extra protection and comes in a variety of colors, making it easy to match your deck’s design.

Tools and Materials You’ll Need for a Deck Railing Installation
Before you get started on your metal railing installation, you’ll want to gather the right tools. Here’s what you’ll need:
- Rubber Mallet. Gently tap components into place without causing damage.
- Cordless Drill. Equipped with screwdriver bits, it’s your go-to for securing the railing components.
- Chop Saw. Make precise cuts through metal with a blade specifically designed for metalwork.
- Level. Keep your railings perfectly aligned and slant-free.
- Tape Measure. Accuracy is key—use this to measure twice and cut once.
- Utility Knife. A retractable knife is handy for trimming materials or packaging.
- Marker or Pencil. Mark your measurements clearly to avoid any mistakes.
Having these tools at the ready will make the process more efficient and help you achieve professional-looking results for your new metal railings.
Tips for a Deck Railing Installation
Installing metal deck railings can seem daunting, but you can achieve a professional finish with the right approach. These tips will set you up for success:
1. Plan Ahead
Before you start cutting or drilling, measure your deck and sketch a detailed plan. Proper blocking for surface-mounted posts is crucial and should be completed before installing the decking. Planning ensures your railings will be secure and aligned.
2. Follow Building Codes
Spacing between posts typically ranges from 6 to 8 feet, depending on local building codes and whether your deck is residential or commercial. Double-check regulations to ensure compliance and safety.
3. Secure Posts Correctly
Pre-drill holes for metal posts to make installation easier and ensure a sturdy fit. Using a level for each post is essential for perfectly vertical alignment—don’t skip this step!
4. Check Manufacturer Instructions
Each metal railing kit has unique requirements, so reviewing the manufacturer’s instructions thoroughly will help you avoid missteps. Follow the directions for the best results, from bracket placement to rail alignment.
5. Take It One Section at a Time
Install the bottom rail first, using a level to ensure it’s straight, and work upward. This method ensures each piece aligns correctly as you progress.
6. Consider Additional Features
If you want to add deck lighting, plan this feature early in the installation process. Lighting adds ambiance and functionality but is easiest to install before capping the posts.
7. Finish Strong
The final step is securing post caps, which adds a polished look to your railings. Once you’re done, take a step back to admire your work and ensure everything is level and secure.
By following these tips, you’ll save time, reduce frustration, and end up with railings that enhance the safety and style of your outdoor space. If you’re unsure about tackling the project alone, Deck Guardian is always here to help with expert installation services!

Follow Safety and Compliance with Railing Standards
Safety and compliance with railing safety standards should be your top priorities when installing deck railings. Properly installed railings enhance the overall look of your deck and protect your family and guests, offering peace of mind as they enjoy your outdoor space. Here’s what to keep in mind to ensure your railings meet both aesthetic and safety requirements:
Know Your Local Building Codes
Building codes dictate deck railings’ height, spacing, and structural integrity. Typically, residential deck railings must be at least 36 inches tall, while commercial spaces may require a minimum of 42 inches. Baluster spacing is also crucial—no gaps should exceed 4 inches to prevent accidents. Always check with your local building authority to ensure compliance.
Choose Durable Materials
Select railing materials designed to withstand the elements and daily wear and tear. Metal railings, such as aluminum or stainless steel, are popular for their durability and resistance to rust and corrosion. If you prefer wood, make sure it’s pressure-treated or sealed for longevity.
Check Structural Stability
Proper post-installation is the foundation of a safe railing. Use secure fasteners and follow the manufacturer’s instructions to attach posts firmly to the deck. Pre-drill holes to prevent splitting, and use a level to verify that each post is perfectly upright.
Consider Rail Height and Graspability
Top rails should be easy to grasp for added safety. Many building codes also require that railings include a continuous handrail if the deck has stairs. Choose a design that balances compliance with comfort and style.
Perform a Final Inspection
After installation, inspect your railings thoroughly. Check for loose fasteners, uneven sections, or gaps that exceed code requirements. Wiggle the railings slightly to ensure they are securely anchored and won’t shift under pressure.
Related Article — Deck Railing Ideas Guide Guaranteed To Improve Your Deck Design

Let Deck Guardian Handle Your Deck Railing Needs
Installing metal railings requires careful planning and attention to detail, from choosing the right materials to following our outdoor railing tips and ensuring compliance with railing safety standards. While a DIY approach can be rewarding, it can also be time-consuming and challenging without the right tools and expertise.
That’s where Deck Guardian comes in. Whether you’re building a new deck or porch, upgrading your metal deck railings, or tackling a complete deck renovation, our team of experts is here to help. We provide professional railing installation services, guaranteeing your outdoor space is secure, stylish, and built to last.
Contact Deck Guardian today to learn more about how we can bring your dream deck to life with high-quality metal railings and expert craftsmanship.