Planning and Designing Your Deck Extension
If your existing cramped deck feels too small, and you have extra land available, extending a deck is an excellent way to increase your area for relaxation. Many homeowners are pleasantly surprised by how manageable and cost-effective a deck extension can be. In this guide, Deck Guardian presents simple steps to transform your backyard deck with confidence and precision.
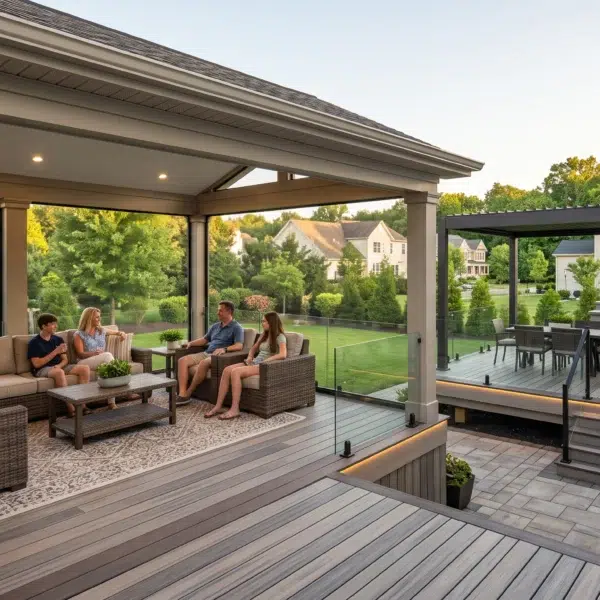
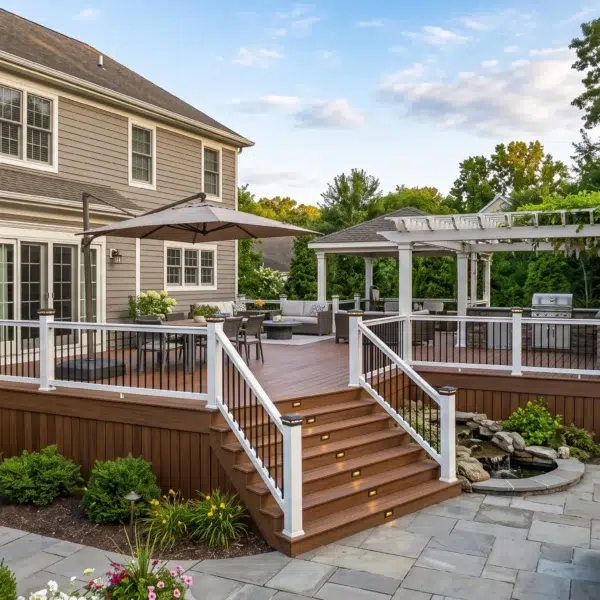
Extend your deck, and you’ll immediately unlock a range of benefits — you create a vast outdoor living space for relaxing and entertaining, and you also boost your home’s market value, making it attractive to potential buyers. The experts at Deck Guardian will guide you through the essential steps to plan and execute a project that seamlessly integrates with your current setup.
Step 1: Planning and Design
Start by thoroughly inspecting your existing deck flooring and determining the purpose of the extension. Will it be for dining, lounging, a hot tub, or social gatherings? Consider these important factors:
-
Size and Dimensions: Calculate the dimensions needed to provide more space to accommodate your outdoor activities comfortably. Ensure your plans provide enough space to fully utilize the available deck space and allow room for furniture and movement.
-
Layout: Plan how the addition will integrate with the existing structure to create a cohesive and sturdy addition. Whether you are planning a same-level extension, a step up extension, or a step down extension, the flow of movement must be smooth and safe.
-
Access Points: Decide where to place access points such as stairs or pathways for easy entry from your house or backyard.
-
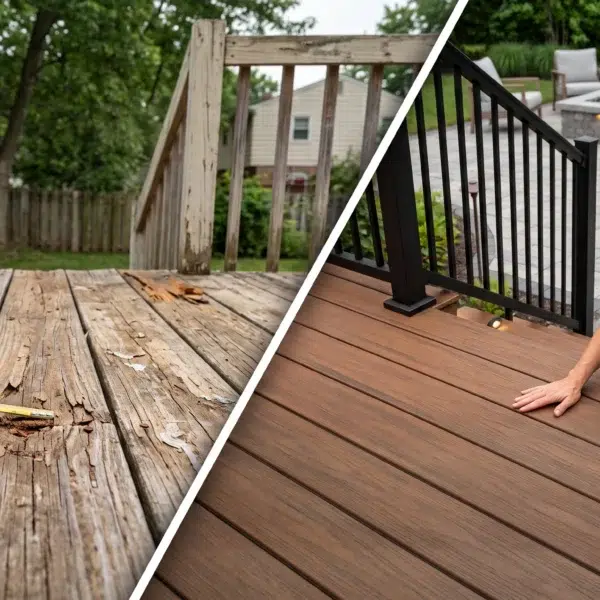
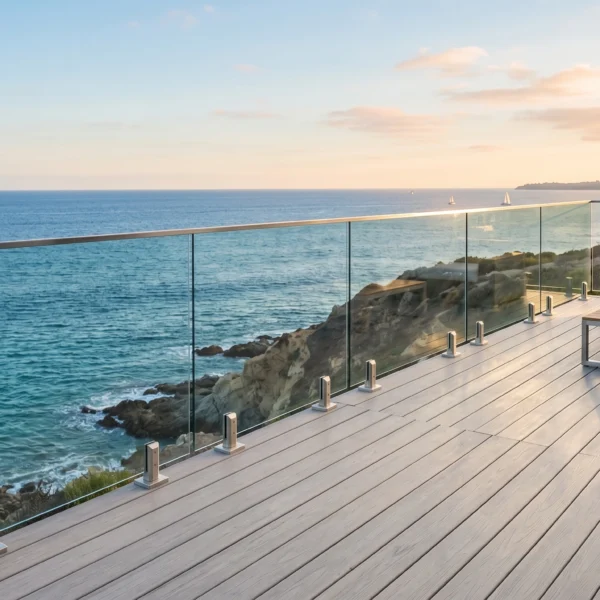
Materials: Choose durable decking materials that match or complement your current style. Natural wood offers a classic, warm aesthetic — consider premium cedar decking or economical pressure treated wood. Alternatively, composite boards are low maintenance with built-in weather resistance and often better longevity.
- Structure: Make sure to evaluate the existing substructure for any minor issues or damage. You must decide if the current setup is structurally sound or if you need to reinforce the old substructure with a new substructure frame to support the new addition.
Step 2: Preparing the Site
Proper site preparation ensures a solid foundation. Before you grab your tape measure, ensure you follow these steps:
-
Clear the Area: Remove any debris and obstacles, and be careful to mark any underground utility lines to avoid dangerous accidents.
-
Mark the Layout: Use wood stakes and mason string to outline the perimeter and dimensions, ensuring you align with your design plans.
-
Mark Post Locations: Measure and mark support post spots. It is vital to check with your local building department and review local building codes regarding frost lines and setbacks. You should also check with your homeowners association for specific rules, visit your local town hall for zoning info, and obtain all necessary permits to avoid future legal or structural issues.

Step 3: Building the Deck Foundation & Deck Frame
A sturdy foundation is key to a successful deck extension:
-
Dig Post Holes and Pour Concrete Footings: Dig holes at marked locations and pour concrete for strong footings that support support posts.
-
Install Posts, Beams, and Joists: Attach posts firmly, then install support beams and new joists. You may need a connecting joist to bridge the gap, aligning carefully with the existing frame and the primary existing joist. This creates a strong new frame that supports the entire structure.
-
Install Ledger Board: Securely attach the ledger board to the house, providing a stable edge for the new deck boards.
-
Level and Secure: Use levels and clamps to ensure the substructure frame is level. Install extra blocking for rigidity and ensure all deck components are firmly fastened, avoiding loose fasteners that can compromise safety.
The complexity of your construction may vary depending on whether you are building a multi-level deck or an extension at the same level. For multi-level decks, additional framing knowledge may be needed.

Step 4: Adding Decking and Railings
Complete the deck extension by installing flooring and safety features:
-
Install Decking: Use a circular saw to cut your materials to size. Start from the edge and work outwards, ensuring the wood boards align perfectly.
-
Alignment: Run the planks in the same direction as the original deck for a smooth transition across the entire deck surface.
-
Secure the Boards: Use screws or nails with appropriate spacing to allow for drainage and natural expansion.
-
Add Railings and Features: For safety and style, install railings around the perimeter. You can add features to help blend the new area with the old deck, making the space functional and inviting.
Step 5: Finishing Touches
Depending on the material, apply the final protective measures:
-
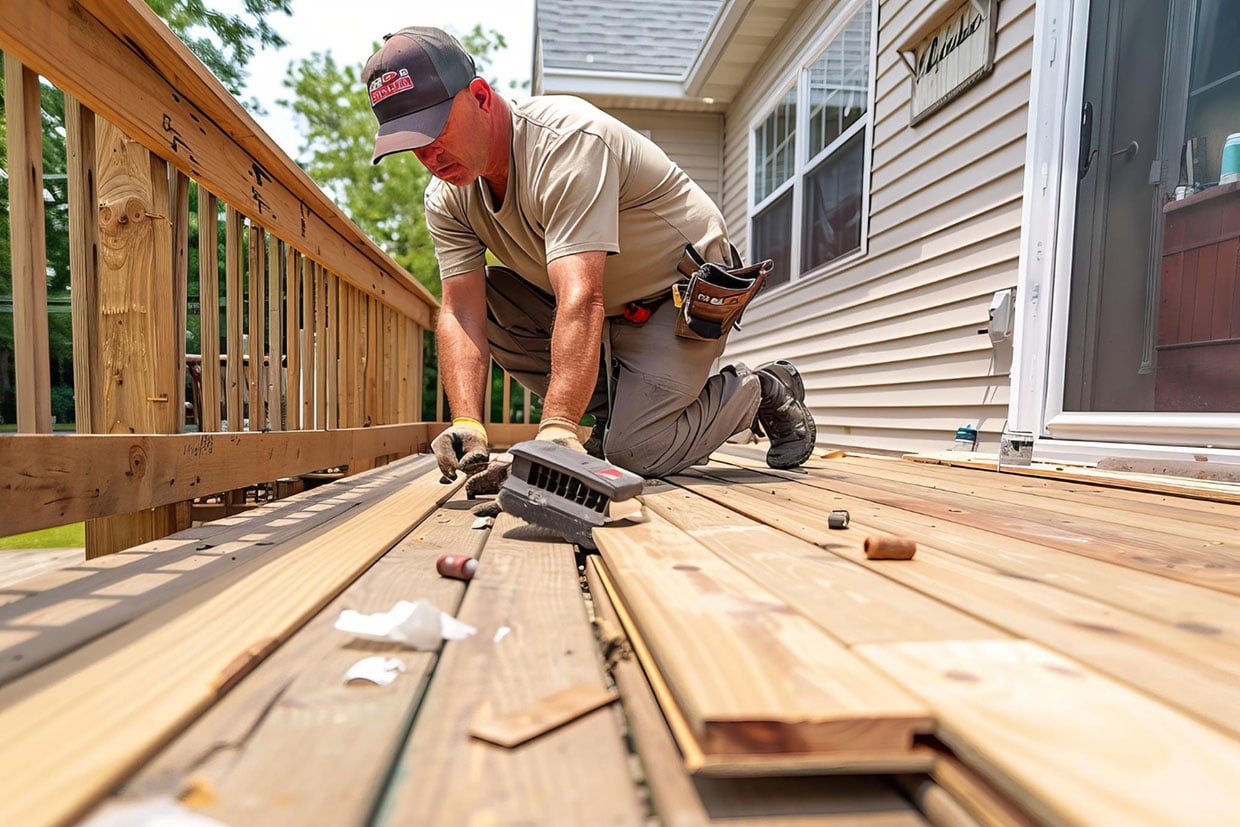
Sand and Seal: If you are connecting to older boards, sand the new section and apply stain or sealant. This helps you achieve the same color to blend the new section with the existing one.
-
Protective Finish: Ensure the wood is regularly treated to protect against weather and water damage.
-
Decorative Elements: Enhance your outdoor space with plants, lighting, and comfortable furniture to make your new extended deck a welcoming extension of your backyard.

Extend Your Current Deck With Deck Guardian
By following these simple steps, you can create a beautiful extended deck that integrates seamlessly with your home. Pay close attention to planning, site preparation, frame construction, decking installation, and final finishing to protect your investment over time.
This project will increase your outdoor living area and add significant value to your home. Remember, regular maintenance is essential for preserving your deck’s beauty and structural integrity.
For expert assistance and professional advice, extend your deck with Deck Guardian. Contact us today to start your deck extension project!
If a DIY approach feels daunting, Deck Guardian offers professional support to make your deck extension project smooth and successful. Learn more at our DIY guide.